Screen Recording Website For Laptop Without Watermark
3 min read
This time I will give a few tips on how to record a laptop screen without a watermark and without the need to install an application on your laptop computer.
This means that this tool works online via google chrome or other browsers such as Opera, Firefox, Safari, etc. So we need an internet connection to use this tool, and of course, we can’t use it without the internet.
To make video tutorials, sometimes we have to record the laptop screen so that what is seen on the laptop screen can become a video that can be uploaded to social media.
Previously I’ve made videos recording laptop screens with this free online screen recorder tool, and the results are arguably good for a free tool that we can use.
So, what is the name of the tool and how to use it? Please see below.
1. Open the website
Simply open this website https://www.recordcast.com/. That’s the website that we will use to record our laptop screen so that it can become a video. When you open it for the first time, a screen like the one below will appear.
2. Choose options for your settings

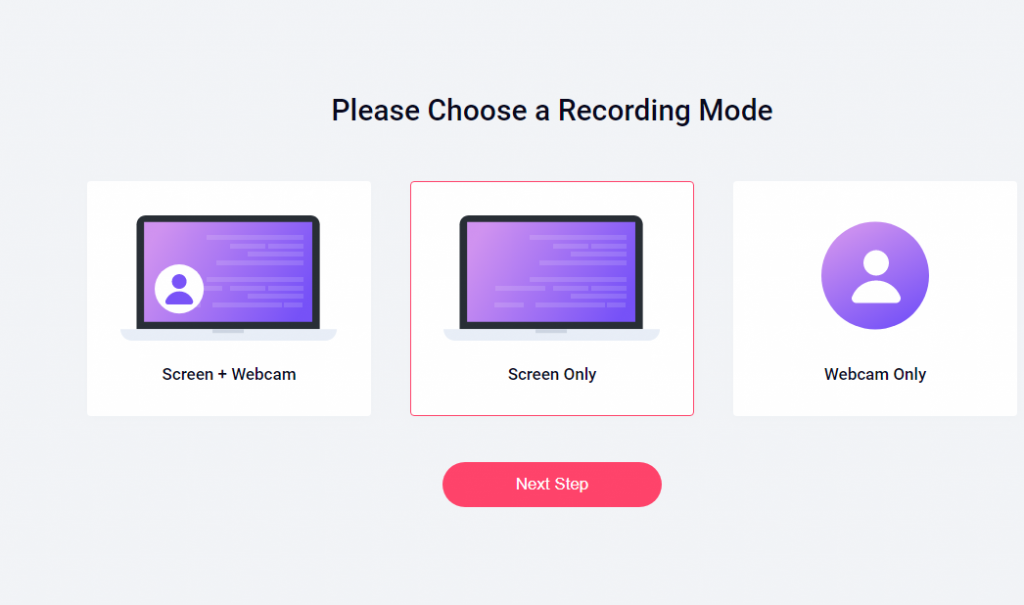
After that, you just select Start Recording, a new page displays with three options – Screen + Webcam, Screen Only, Webcam Only. If you only record the screen, then select Screen Only, then please select Next step.
Next, another display will appear with four audio setting options – Microphone + System audio, Microphone, System audio, and no audio. Now to produce a clear sound, you should use an external microphone. Then, you need to check the box beside Got it to give permission to access your microphone.
After you select Got it, it’s time to select which screen you want to record. There is an Entire screen option, meaning the main screen you are currently viewing. Besides that, there is also an application Window menu that is currently open. Please select the application where the activity will be recorded. In addition, there is also a Chrome Tab option. There may be several sites that are visible. Select which site you will record the activity on. Once selected, please select Share and move forward.
3. Recording starts

After that, the RecordCast has started to record the screen. To stop, press / select Stop in the upper left corner. After that, a recording is just finished.
4. Download and polish recording

It’s time to download your recording. After the recording is finished, you have the option to download it directly to your computer, but it is in WEBM format.
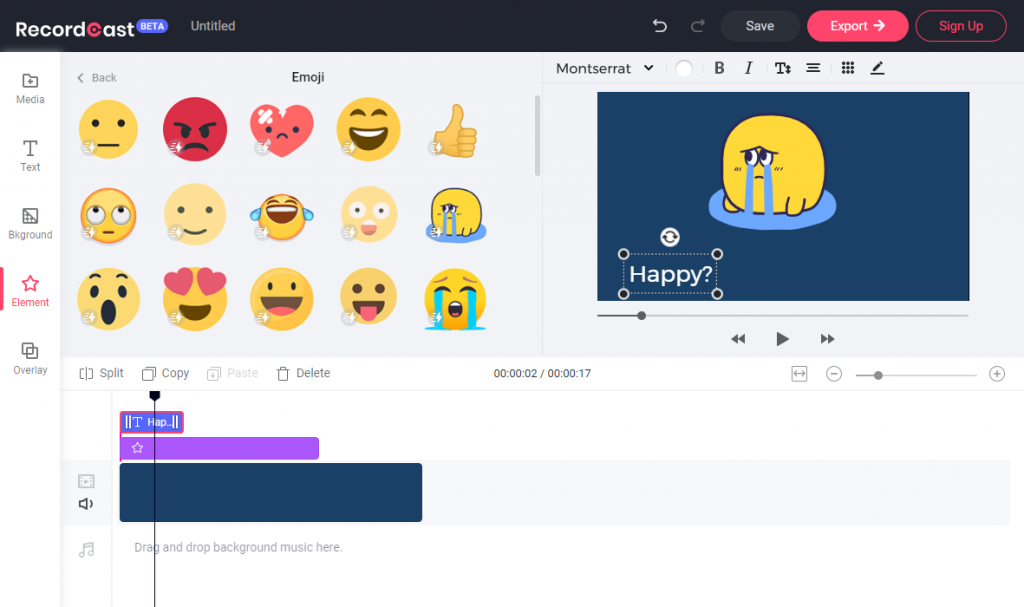
To get an MP4 video file, simply click on the “Download and Edit” button. Here you can add text, animated elements, overlays, background music, etc., to your recording and make it more appealing. All is free. And since the video editor is timeline-based, it is more flexible to adjust the time duration of each element in your video. You can make changes to every detail according to your own needs.
Conclude
RecordCast is one of the websites to record laptop screens without a watermark without installing the application on the laptop. Hopefully, it’s useful to you as well.


